
Whenever you find yourself lost, you need to focus on survival. There are 4 pillars of survival that you need to remember. These are food, water, fire, and shelter. However, in this particular scenario you can add a fifth pillar. Signaling for rescue in the wilderness is absolutely vital. In most situations, it is suggested that you stay where you are and signal for help if you are lost. This is typically your fastest way to safety versus trying to hike your way out of the wilderness. In most cases, you will have friends or family that know where you were going and when you were expected back. Within 24 hours, these people typically get worried and contact the authorities to come to your rescue. That means that people will often be looking for you in just a day or two.
However, you have to be prepared to get the attention of rescue personnel when they come for you. Think about the different strategies they may be using to find you. They will likely have people on foot, possibly with dogs. They might have helicopters looking from overhead. If you are near a river, lake, or shoreline they may have rescuers on boats. They may be using four-wheelers or other off-road vehicles to find you. They may even be on horseback. All of these different tactics are used to find people lost in the woods. In this article, we will cover the different ways that you can signal rescue personnel and get to safety as quickly as possible.
Contrast in Signals
The key to any signal for help is contrast. You must get the attention of people in the area, so you must find ways to make your signals stand out from their surroundings. When in the wilderness, it is vital that sound-based signals do not resemble sounds found in nature. Beating on metal or glass objects or using a whistle will create a sound that really stands out. When creating visual signals of any kind, they must also stand out from their surroundings. If it is dark, a bright light is best. If it is light, you want to use bright colors to stand out against the earth tones of the wilderness. Create movement and straight lines whenever possible as these are rarely found in nature. Put black objects against white snow or white stones against black dirt for contrast. Chop away a section of dark tree bark exposing the white inner-bark. Use either plastic or rubber on signal fires to create black smoke or use green vegetation to create white smoke. These strategies will give you the best odds of getting the attention of rescuers and getting to safety.
Signaling with Sound
When you have rescuers on the ground or on the water, signaling with sound can be a great way to get their attention. Many people will just yell for help at the top of their lungs. However, they quickly get tired and lose their voice. In addition, it is easy for wind or other background noise to wash out the human voice over a distance. You are best to create a sound signal with a loud and distinctly unnatural sound. This works best when your rescuers are already in your general vicinity. Be aware that sound travels significantly further across water, so using sound signals near lakes or the ocean can be a good idea.
I always carry a survival whistle with me whenever I head out into the woods. It requires almost no effort to blow a whistle, and the high-pitched sound stands out against background noise. You can carry a separate whistle, or you can purchase survival tools that have one built in. I have a survival bracelet that has a whistle built in for easy use along with several other survival functions. You can also use found materials to build a sound-based signal. Finding something that is made of metal or glass is a good idea. If you find a large sheet of metal or a metal drum, you can beat on it with a stick for a sound signal.
You can do the same with a glass bottle, but you need to be careful that you do not break it. If you want to build a signal that you can set up and forget, build some wind chimes. Attach cordage to bottles and tie them close to each other on a tree branch. You want them to be in an area that gets a large amount of wind. As the bottles clang together, they will make a sound that will attract the attention of anybody close by. If you have a firearm with you, obviously a gun shot can get the attention of rescue personnel. However, if there happens to be an open hunting season in the area they may ignore gun shots.
Visual Signals
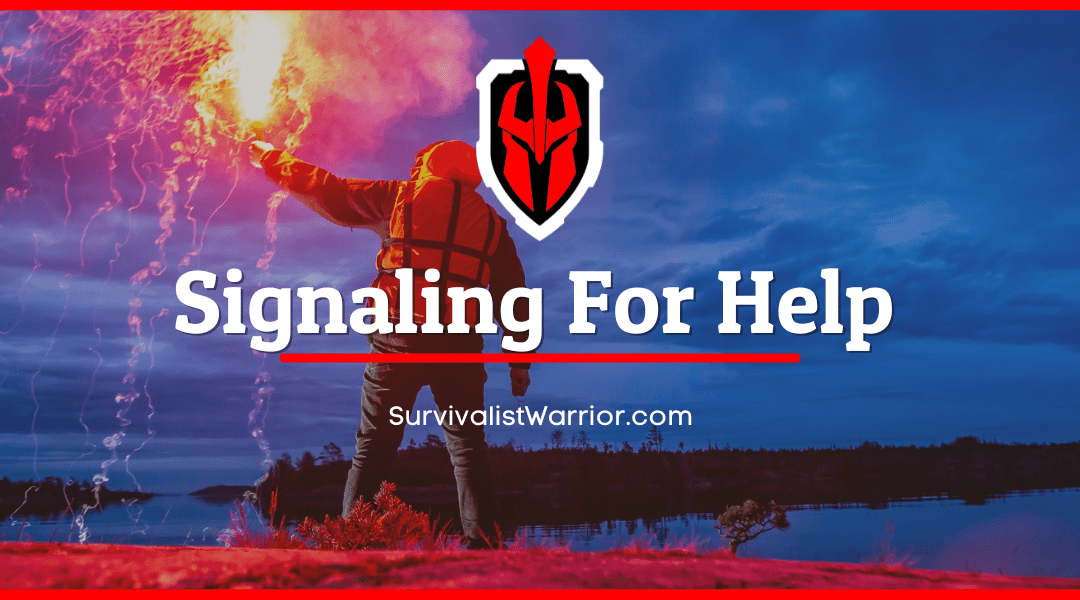
There are many different ways that you can create visual signals to get the attention of rescue personnel. One of the oldest primitive methods of signaling is using smoke signals. Your best bet is to get to a high spot like a hilltop, ridgeline, or mountain peak. This will ensure that your smoke is not broken up by any trees, and it will also make the flames of your fire more visible for a longer distance. When you build a signal fire, you have a few options. It is a good idea to build three fires in a line with each one being 20 or more feet apart. This creates three visible flames and three columns of smoke. Three of anything in a row is rarely found in nature and is a universal sign for distress.
Second, you must decide how to color your smoke. If you have access to anything rubber or plastic, you need to put it on the fire. This will create jet black smoke that is never found in nature. It will be a sign that stands out to any rescuers in the area. If you have no rubber or plastic, you can use green vegetation to create white smoke. This is rarely seen in nature but is not quite as visible as the black smoke. To take your smoke signal to the next level, you can change the appearance of the smoke column. By taking a blanket or sheet of cardboard, holding it over the smoke column, and then releasing a plume of smoke you are creating a distinct pattern. Instead of just seeing a column of smoke similar to what a campfire would make, rescuers will see several distinct puffs of smoke. You can even signal ‘SOS’ with your smoke which is another universal signal for distress. You will do three small puffs, three larger puffs, and three short puffs. Wait several minutes and then repeat.
Stationary ground to air signals are ideal as you can set them up and leave them for rescue personnel in helicopters to see. You will want to find a large, open area for your signal. In addition, you will want materials for your signal that have contrast with the ground. If there is snow on the ground, you want black or dark colored materials. If you have a large dirt patch that is dark colored, you would want to use something like light colored stones for your signal. You can just create three large lines of the same length lying side by side on the ground. As mentioned above, three of anything is a universal sign of distress. You can also spell out ‘SOS’ if you want to be sure that you will be noticed. Your ground to air signal should be large enough to easily be spotted from the air, so it should be at least 15 feet by 15 feet when you are done.
Bright colors and movement are additional ways that you can alert rescuers of your location. If you have any bright colored clothing or tarps, you can lay them out in an open area so they can be seen from the air or ground. To take it a step further, you can attach these bright colored items to long poles to raise them up off of the ground like a flag. Finally, if you know there is somebody in the area looking for you the flag can be waved back and forth to create motion. This makes the flag more visible. Another way to create a visual signal with motion is using a signal mirror. This is a small mirror with a small hole in the center. The mirror is used to reflect light from the sun directly at a target. This is typically a vehicle, a building, or a person on foot. You will need to be facing the sun for this to work. You will simply face the reflective side of the mirror towards your target and then look through the hole until you can see your target inside. Then just slightly rock the mirror back and forth to shine the light actively across the area of your target. This will appear as a shimmer to a rescuer which they are trained to spot.
Finally, there are devices you can take with you when you head into the wilderness that create active signals. Laser pointers are great for creating motion for long distance signals. You do need a line of sight directly to your target, but a laser pointer can travel for miles in the right conditions. This will appear as a red dot dancing around anything at which it is aimed. This dot is more visible in low light conditions. You can also use a flashlight as a visual signal. Especially at night, the flashlight can be turned on and off rapidly or you can signal ‘SOS’ in the same pattern that was mentioned above. I even own a flashlight that has an SOS setting. When turned on, it shines red and automatically repeats SOS in Morse code. This can be set on any high spot to be seen for quite a distance.
Vehicles
If you find yourself in a survival scenario and you are with a vehicle, typically your best bet is to stay with the vehicle. People looking for you are trained to look for vehicles on the side of the road. It is easy to spot a large, metal object and many cars are painted in bright colors that stand out. In addition, you have built in signals in your vehicle. You can honk the horn periodically to get the attention of rescuers. You can set off the car alarm for a loud and repeating noise. You can flash the lights on and off for a visual signal, or just turn on the hazard lights so that they keep going consistently. You can even burn the tires or seat cushions to create black smoke. The mirrors can be used for a visual signal as mentioned above, and you can bang on the hood for an audio signal. In addition, the vehicle provides lots of survival resources if you are stuck for several days. The wiring can be used for cordage and the seat cushions can be used for insulation. Window glass can be used to sharpen a dull knife blade. Gasoline can be used to help start a fire. You might even be able to use the Onstar system to call for help. If you are prepared, you will likely also have some supplies in the trunk for a situation such as this.
If You Hike Out
If you decide that rescue personnel are not likely to find you in time and want to hike to safety, it is still important that you use signals. In this case, signals are used to help rescuers find your path and eventually find you. Start by marking a large arrow on the ground pointing in your direction of travel. This will get the rescue party moving in the right direction at a minimum. In addition, you will want to blaze a trail as you walk. You do this by chopping away a section of bark on a tree along your path. This exposes the white inner bark creating contrast. If you do this every 20 to 30 feet, people will be able to follow your path to find you. By taking these few additional steps, you may drastically speed up your timeline for rescue.
Communication Devices
There are several communication devices that you can take with you into the wilderness to call for help. However, you should never rely upon these devices alone. Often you will not have a signal when you really need it making these devices worthless. In addition, the batteries can burn out, the devices could break in a fall, or they could short out if dropped in water. They are still worth bringing if you have access to one. Cellular phones are the easiest option, and most people carry their phones with them all the time. Currently 99% of the US has cellular service and 75% of the world has coverage. This means that your odds of having at least one bar on your phone is pretty darn good. However, wilderness areas are the most likely to be in that 1% that will not have service.
You can bring GPS devices that get their signal directly from a satellite. Instead of needing a line of sight to a tower, these devices only need a line of sight directly to the satellite. You can program coordinates as you hike making it easy to retrace your steps or to send your location to an outside party. You can also take a PLB (personal locator beacon) with you for satellite communication. These gadgets use a satellite signal to pinpoint your location within 10 yards. If you go cheap on your PLB, it will only send your location to local authorities with which you have registered. If you spend a bit more money, you can get a PLB that also allows you to send text messages to registered parties via satellite. Satellite phones offer the best combination of communication options and reliable signal. However, they can be quite expensive. Sometimes you can find a retailer that will rent one to you for your trip which may be the best option. Keep in mind that any of these satellite-based devices needs a line of sight directly with the satellite in space. This means that having trees overhead or around you could be a problem. Using these devices in a building or in a cave will not work. You must get out in the open.
Practice
It is important that you not just read about ways to signal for help, but that you also practice. A couple years ago I gave all my nieces and nephews small survival tools with signal mirrors built in. To teach them how to use them. I created a game in which we spread out about 100 yards apart and had to signal each other with the mirrors. It was a lot of fun, and it taught kids ages five to 11 how to signal for help. If you go hiking you can let a person in your party walk ahead. Once they have some distance, you can use sound and visual signals to try and get their attention. You can do the same thing when you are camping.
In the end your best bet for getting home is signaling for rescue. However, for this to work you need to have people looking for you. It starts with proper planning. Any time you are headed out into the wilderness, make sure friends and family know exactly where you are going and when you should be home. If you do not arrive home by that time, they should know to call the authorities. You may also want to talk to your local ranger station. In some areas you can register a hiking or camping trip with their office so that they know to come looking for you if you do not check in at the right time. You can also put yourself in a stronger position for rescue by always packing tools to create rescue signals. The big ones to have with you are a signal whistle, a flashlight or laser pointer, a fire starter, and any communication devices you own. If you take the time to prepare for scenarios like this, you will have great odds for making it home quickly.
I am a Survivalist Blogger since 2018. I currently reside in South West Florida when I’m not out on the road.